


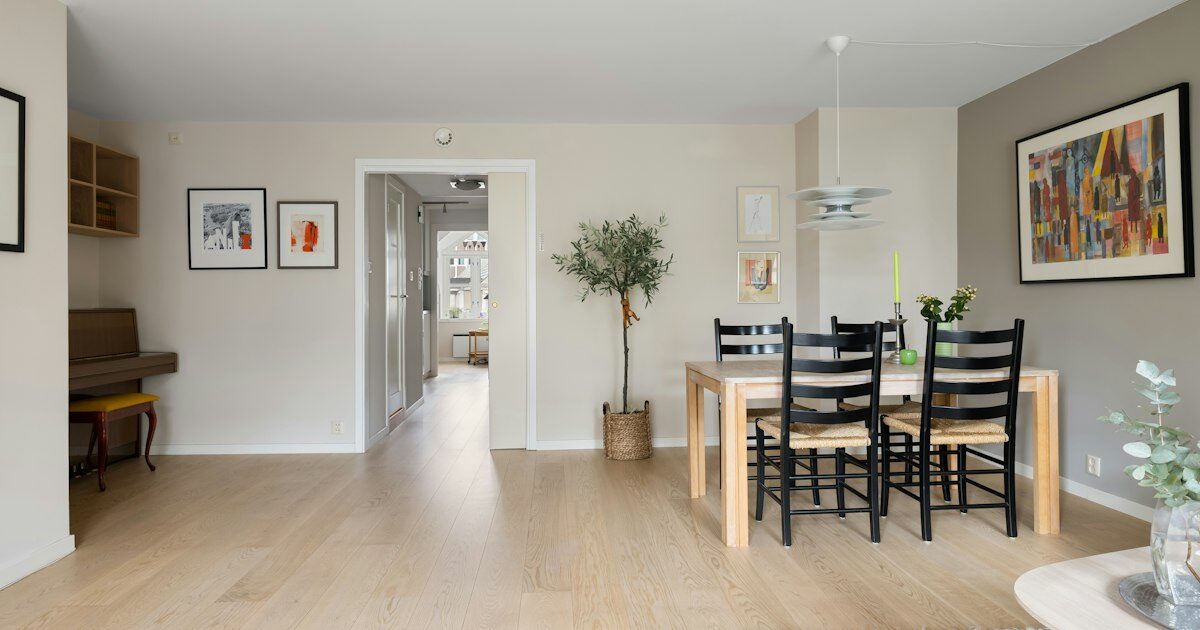
Solid hardwood flooring is one of the most enduring, valuable architectural elements in residential design. Unlike synthetic vinyl planks or printed laminates that must be discarded once scratched, real timber possesses a living cellular structure that gains character and warmth over generations. However, decades of foot traffic, pet claws, micro-abrasive grit, and harsh chemical cleaners inevitably take their toll, leaving once-glowing oak or walnut looking dull, hazy, and dry.
Restoring the deep luster of solid timber does not necessarily mean renting an industrial drum sander and filling your living quarters with toxic airborne sawdust. By understanding the cellular moisture dynamics of wood and adopting natural cleaning chemistry paired with penetrative hardwax oils, you can rejuvenate tired timber floors at a fraction of the cost. Below is our comprehensive restoration blueprint for maintaining solid hardwood floors naturally.
1. Wood Cellular Physics: Moisture Equilibrium and Coating Chemistry
Wood is a naturally hygroscopic material: even centuries after being milled into floorboards, timber cells continuously absorb and release ambient water vapor to reach equilibrium with surrounding room humidity. When homeowners attack dirty wood floors with steam mops or soaking wet mops, boiling moisture forces its way deep into cellular tracheids, causing timber fibers to swell, cup at plank edges, and permanently pop polyurethane finishes.
Equally damaging are conventional supermarket floor cleaners. Many commercial formulations rely on caustic ammonia, high-pH bleaching agents, or synthetic silicone waxes. While silicone temporarily creates a shiny surface film, it leaves behind an impermeable chemical residue that prevents subsequent coats of finish from adhering, while high-pH detergents chemically burn natural wood tannins, creating unsightly gray oxidation halos around nail heads.
According to technical wood preservation standards from the USDA Forest Products Laboratory (FPL), solid residential hardwood floors must be maintained at a stable indoor relative humidity between 35% and 55% to prevent seasonal gapping and cupping. For routine sanitation, cleaning solutions must remain strictly pH-neutral (between 6.5 and 7.5) to dissolve atmospheric grease without stripping the wood’s protective lipid barrier.

2. The Two-Bucket Damp-Microfiber Cleaning Protocol
Before applying any protective restorative oils, the wood surface must be clinically sanitized of microscopic silica grit. Sand and dirt walked in from outside act like coarse sandpaper under shoe soles, grinding away protective finishes with every step.
Execute the professional two-bucket microfiber washing protocol:
- Dry Microfiber Electrostatic Sweeping: First, sweep the entire floor using a dry electrostatic microfiber pad. Never use a vacuum cleaner with a rotating plastic beater bar, as the stiff nylon bristles will leave thousands of micro-scratches in the finish.
- Wash Solution Preparation: In Bucket A, blend 1 gallon of warm distilled water with 2 tablespoons of pure vegetable-oil-based liquid castile soap and 3 drops of pure sweet orange essential oil (which naturally dissolves surface oils via d-limonene terpenes).
- Clean Rinse Water: Fill Bucket B with pure clean warm water.
- Damp Mop Technique: Dip a flat microfiber mop head into Bucket A, wring it until it is merely damp (no water should drip under hand squeeze), and mop in the direction of the wood grain. Rinse the soiled pad in Bucket B, wring thoroughly, and reload from Bucket A. This ensures you never spread suspended dirt across previously cleaned planks.

3. Natural Hardwax Oils vs. Synthetic Polyurethane Films
When wood starts looking parched or exhibits high-traffic wear paths near entryways and kitchen counters, it requires replenishment. Traditionally, homeowners assumed their only option was refinishing with toxic polyurethane lacquers that seal the wood under a thick sheet of plastic. However, once polyurethane is scratched, spot repairs are impossible: the entire room must be vacated and sanded back to bare timber.
According to finishing recommendations from the National Wood Flooring Association (NWFA), natural hardwax oils represent the pinnacle of sustainable residential timber care. Formulated from cold-pressed linseed oil, sunflower oil, and carnauba wax, hardwax oils penetrate deeply into the open pores of the wood, bonding molecularly with cellulose fibers while curing to an open-pore, water-resistant matte shield.
The profound benefit of hardwax oil is local spot repairability: if high-traffic hallways lose their sheen, you can clean the area, rub a small amount of maintenance oil into the grain with a white buffing pad, and feather the edges seamlessly into surrounding boards without leaving visible lap marks.
4. Wood Flooring Finish and Maintenance Matrix
Evaluate the primary wood finishing technologies, ecological footprints, and maintenance cycles using this comparative matrix:
| Finish System | Chemical Composition | VOC Emission Level | Maintenance Approach | Aesthetic Sheen & Texture |
|---|---|---|---|---|
| Natural Hardwax Oil | Linseed, soybean oil, carnauba & candelilla wax | Ultra-low to zero VOC (<5 g/L) | Spot repairable without sanding, annual buffing | Warm tactile wood grain, natural velvety matte |
| Pure Tung Oil | 100% Pressed nut oil from Vernicia fordii | Zero VOC (100% organic solids) | Requires 5–6 penetrating coats, seasonal re-oiling | Deep golden amber, highly flexible waterproof seal |
| Water-Based Polyurethane | Cross-linking acrylic-urethane resin dispersion | Moderate VOC (100–150 g/L) | Screen and recoat every 5–7 years | Clear crystal film, satin to semi-gloss sheen |
| Solvent-Borne Polyurethane | Oil-modified alkyd urethane resin | High VOC (350–550 g/L, off-gasses for weeks) | Full machine drum sand and strip required | Thick plastic coating, prone to ambering and chipping |
5. Preventive Floor Defense and Whole-Home Harmony
The easiest floor maintenance is mechanical prevention. Place dense natural coir bristled mats outside every exterior entryway to scrub eighty percent of outdoor grit from shoes, and place low-pile washable runners directly inside high-traffic thresholds.
Additionally, check every chair, sofa leg, and coffee table in your home: discard cheap stick-on thin felt pads that slide off and collect grit. Instead, install heavy-duty screw-in wool felt glides that remain permanently centered under furniture legs. Combine these principles with our interior lighting strategies in how to maximize natural light in dim rooms, where pale oak floors bounce natural illumination upward into ceilings.
When arranging furniture around your newly buffed timber floors, apply spatial clearance techniques from our small-space living room layouts for flow and comfort. If you are completing architectural upgrades across your living space, explore our carpentry blueprint on building sturdy floating shelves on drywall to match timber species throughout your home.