


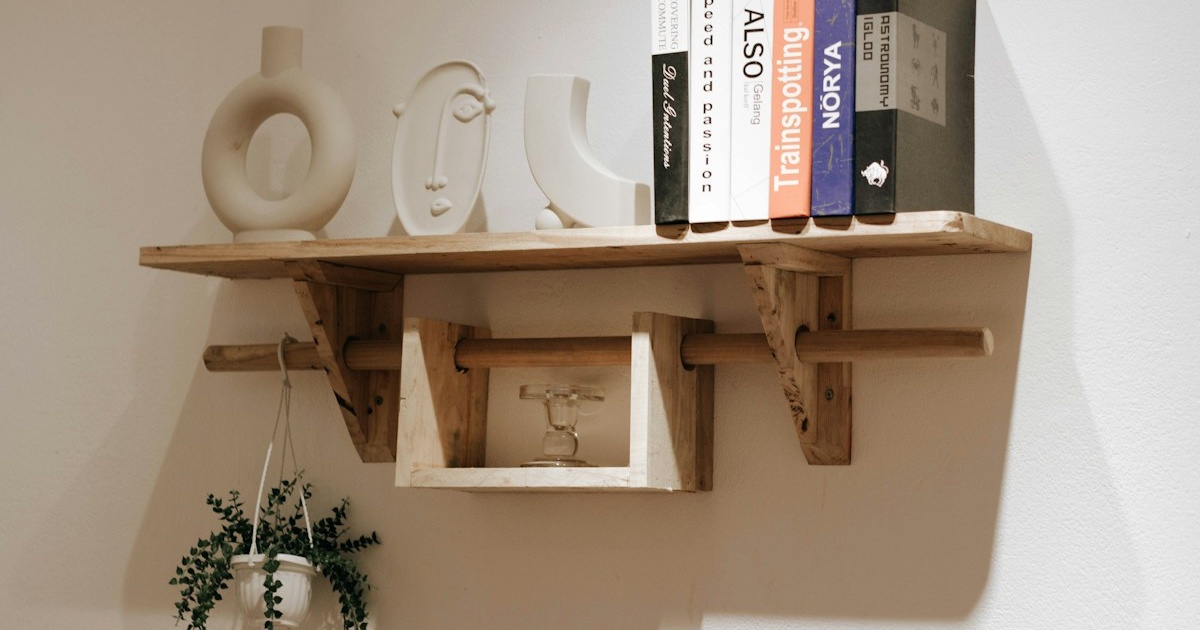
Floating shelves offer an elegant architectural storage solution for modern homes. However, improper installation turns an aesthetic triumph into a domestic hazard. Without corbels below, floating shelves act as mechanical levers that exert immense rotational torque on wall fasteners. Learning how to properly anchor floating shelves on drywall guarantees both structural stability and safety.
Too many homeowners rely on standard plastic drywall anchors, only to watch their shelves sag forward under heavy dinnerware, ripping chunks out of the wall. Building a floating shelf that safely holds thirty to seventy pounds requires understanding cantilevered loads, choosing the correct concealed hardware, and anchoring into wood wall studs wherever possible.
1. The Physics of Cantilevered Shelf Loads
To safely mount a floating shelf, you must understand the distinction between direct shear load and rotational tensile pull-out force. When you place an object directly against a wall, its weight pulls straight down parallel to the wall face (shear load). Drywall handles moderate shear loads reasonably well.
However, a floating shelf extends outward from eight to twelve inches into the room. When an object sits near the front outer edge of the shelf, gravity transforms that weight into a powerful lever arm. The top wall fasteners experience an intense horizontal tensile force pulling them straight out of the drywall, while the bottom edge of the shelf bracket acts as a pivot fulcrum crushing inward against the gypsum board. Structural testing standards from the Gypsum Association (GA-216 Specifications) show that standard 1/2-inch gypsum board possesses high compressive shear strength but extremely low pull-out tensile resistance when unsupported by solid timber framing.
As a rule of thumb, every inch of additional shelf depth increases the rotational pull-out force on your upper anchors by roughly ten to fifteen percent. For standard drywall applications without studs, keep shelf depths between seven and nine inches to limit mechanical leverage.

2. Fastener Hierarchy: Studs vs. Heavy-Duty Drywall Anchors
There is no substitute for solid framing timber. Whenever possible, your primary strategy should always be driving heavy-duty lag screws directly into two-by-four wall studs. Following the American Wood Council (AWC) National Design Specification for Wood Construction, a #10 structural wood screw embedded two inches into solid spruce-pine-fir framing withstands over 120 pounds of shear load per fastener.
When shelf placement falls between wall studs, select your drywall fasteners carefully:
- Snap-Toggle Bolts (1/4″-20): The undisputed king of hollow drywall anchors. Featuring a solid zinc-plated steel channel that flips flat against the back of the drywall, a 1/4″ snap-toggle safely holds up to fifty pounds of tensile pull per fastener in 1/2″ gypsum board.
- Molly Bolts (Hollow Wall Anchors): Expanding metal sleeves that mushroom against the back of the board. Excellent for medium-duty loads up to twenty-five pounds.
- Threaded Zinc Screw-In Anchors: Acceptable only for lightweight display ledges carrying under ten pounds. Never use these for deep floating shelves holding books or kitchen crockery.
- Plastic Ribbed Cones: Strictly prohibited. They pull out under minimal rotational leverage and will damage drywall.
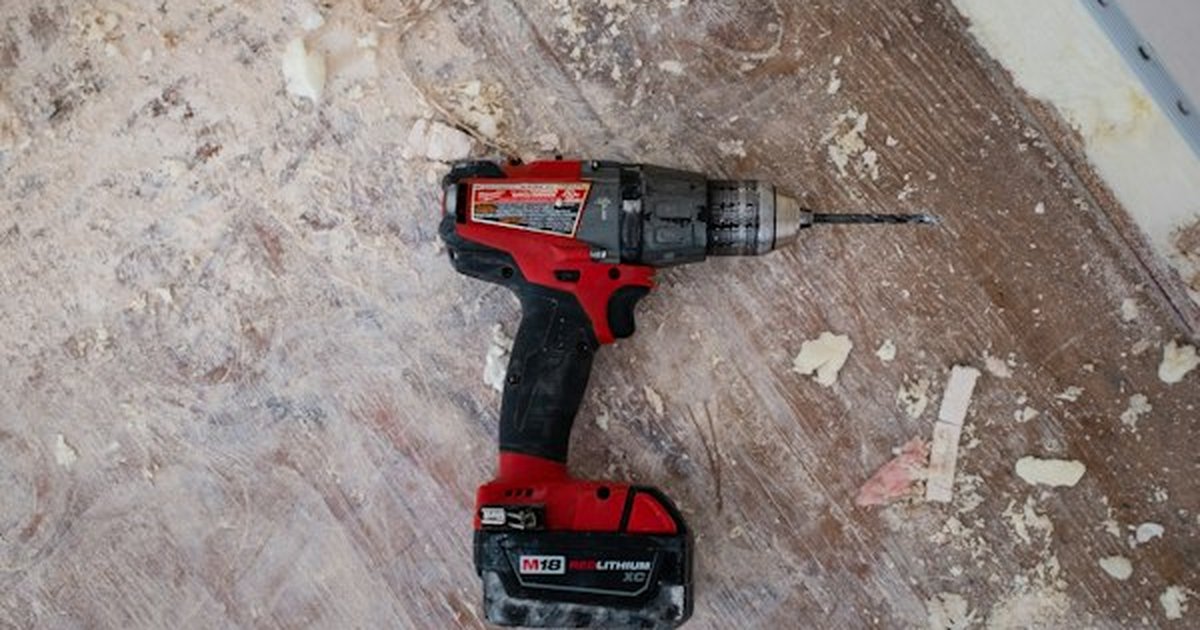
3. Selecting Concealed Shelf Hardware
Modern floating shelves rely on two main concealed mounting architectures: blind round rod brackets and unified welded steel backplates.
Unified Welded Steel Backplates: The professional standard. This hardware consists of a long, flat 3/16-inch cold-rolled steel backplate with multiple solid steel rods (typically 1/2-inch or 5/8-inch in diameter) welded perpendicularly at regular intervals. The backplate features multiple countersunk screw holes spaced every half-inch, guaranteeing you hit at least two wall studs regardless of shelf placement.
Independent Blind Shelf Rods: Threaded steel rods mounted individually. While suitable for lightweight knick-knack ledges, independent rods tend to twist and loosen over time if subjected to uneven weight distribution.
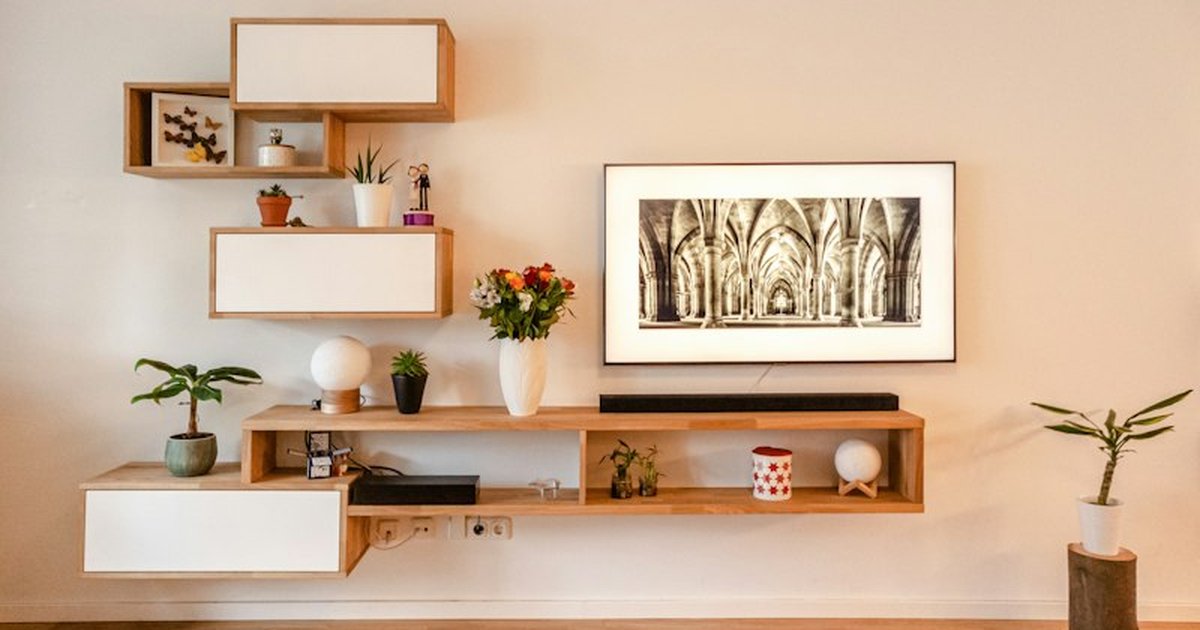
For organized domestic storage that seamlessly pairs with your new shelving, explore our complete layout blueprint for a kitchen pantry organization system, or see how floating architectural elements optimize circulation in our guide to small-space living room layouts.
4. Drywall Fastener and Weight Rating Guide
Consult this engineering matrix before loading your newly mounted floating shelves:
| Fastener Type | Drywall Thickness | Safe Working Load (Shear) | Safe Working Load (Tensile) | Best Suited Application |
|---|---|---|---|---|
| 2.5″ Structural Lag Screw into Stud | 1/2″ or 5/8″ | 100+ lbs per screw | 80+ lbs per screw | Heavy kitchen dinnerware, hardback books |
| 1/4″-20 Steel Snap-Toggle Bolt | 1/2″ Standard Gypsum | 60 lbs per anchor | 35 lbs per anchor | Medium-duty floating displays between studs |
| 1/8″ Steel Molly Sleeve Anchor | 1/2″ Standard Gypsum | 30 lbs per anchor | 15 lbs per anchor | Light framed art, small decorative ceramics |
| Self-Drilling Zinc Threaded Anchor | 1/2″ Standard Gypsum | 20 lbs per anchor | 10 lbs per anchor | Narrow picture ledges (under 4″ depth) |
5. Step-by-Step Installation Protocol
Follow this proven five-step protocol to mount your floating shelf plumb, level, and rock-solid:
- Locate and Mark Stud Centers: Run your neodymium magnetic stud finder across the wall to identify drywall screws in the studs. Mark the exact center of each stud along your target horizontal line.
- Level and Secure the Steel Backplate: Place a twenty-four-inch aluminum spirit level atop the steel backplate. Mark all screw hole locations. Pre-drill 1/8-inch pilot holes into the stud centers to avoid splitting the timber framing. Drive 2.5-inch structural washer-head screws tightly through the plate into the studs.
- Install Supplementary Snap-Toggles: If one end of your shelf extends past the final stud, drill a 1/2-inch hole and insert a 1/4-inch steel snap-toggle to prevent lateral racking.
- Route and Bore the Hardwood Shelf: Using a precision drill guide and a Forstner bit, bore holes into the back of your solid wood shelf corresponding exactly to the steel rods. The hole diameter should match the rod diameter plus 1/16-inch clearance.
- Slide and Lock: Slide the wooden shelf body over the steel bracket rods until it sits flush against the drywall face. Secure from underneath using small setscrews to prevent the shelf from sliding forward over time.
6. Diagnosing and Correcting Shelf Sag
If your installed shelf pitches forward, check three common failure points: First, check if the drywall compressed under the bottom edge of the backplate. Installing a thin metal shim behind the lower rim re-levels the bracket immediately. Second, ensure mounting screws are driven completely home into the framing. Third, verify that heavy kitchen cast iron or ceramic pieces are distributed toward the wall edge rather than perched on the front lip.
By respecting the physics of wall fastening and executing meticulous bracket alignment, you create beautiful floating shelving that endures for years of reliable domestic service.