


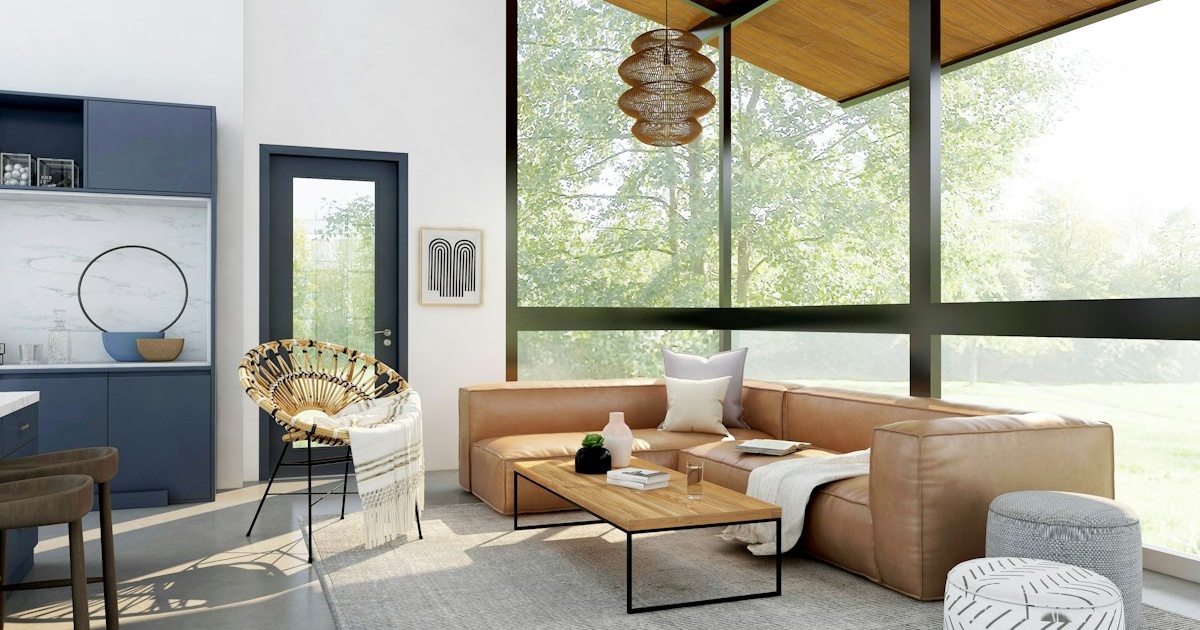
Stepping into a dim, shadow-filled room can instantly lower your energy and make even generous residential square footage feel cramped and uninviting. Whether you are dealing with a north-facing apartment, deep exterior roof overhangs, or narrow city setbacks between neighboring brick walls, learning how to maximize natural light transforms dark domestic spaces into uplifting, serene living environments.
Maximizing ambient daylight does not require knocking down structural load-bearing walls or spending thousands of dollars on architectural skylights. By understanding the optical physics of Light Reflectance Value (LRV), specular reflection, and low-profile spatial ergonomics, you can bounce incoming photons deep into interior living quarters. Below is our verified, practical blueprint for brightening dim residential rooms.
1. Calibrate Paint Finishes Using Light Reflectance Value (LRV)
Most homeowners assume that painting a dark room stark hospital white automatically solves dimness. In reality, pure brilliant white paint without direct sunlight turns into a cold, dingy, chalky gray in shadowed spaces, amplifying the gloom rather than relieving it.
Instead, calibrate paint choices using the Light Reflectance Value (LRV) scale, which measures the percentage of light a paint color reflects on a scale from 0 (absolute black) to 100 (pure specular white). For dim rooms, select warm off-whites, soft creams, or pale alabaster tones with an LRV rating between 72 and 82, featuring warm yellow, peach, or linen undertones.
Equally vital is paint sheen. While high-gloss finishes reflect light, they also create blinding, distracting glare hotspots. Choose a velvety eggshell or satin finish on walls to diffuse light smoothly, and coat the ceiling in a clean, high-LRV (85+) flat ceiling white to disperse reflected light evenly downward.

2. Optical Physics of Strategic Mirror Placement
Mirrors are optical amplifiers that duplicate window openings when placed strategically. However, positioning a mirror directly opposite a window is often a wasted opportunity: it simply reflects the light straight back outside.
Instead, mount a large framed mirror on the wall perpendicular (at a ninety-degree angle) to your primary window. This orientation catches incoming diagonal sunbeams and bounces them across the room, illuminating adjacent interior walls that would otherwise remain in deep shadow. Architectural optics documented by the Lawrence Berkeley National Laboratory (LBNL) Windows and Daylighting Group confirm that secondary reflective surfaces increase ambient room lux levels by up to twenty-eight percent without glare.

To maximize emotional connection, position the mirror so its angle captures outdoor greenery, blue sky, or architectural trees. This reflects vibrant natural motion into the room, creating the psychological illusion of a second exterior window opening.
3. Window Treatment Architecture: High and Wide Mounting
The standard way curtains are hung in rental units and older homes severely compromises daylight. Mounting curtain rods directly on the window casing blocks up to thirty percent of incoming glass exposure even when drapes are pushed wide open.
Adopt the architectural “high and wide” hanging rule: mount your curtain rod six to ten inches above the top window casing (close to the ceiling crown molding) and extend the rod eight to twelve inches past the outer window frame on both sides. This ensures that when curtains are pulled open during the day, the fabric rests entirely against solid drywall, exposing one hundred percent of the window glass to incoming daylight while visually elongating ceiling height.
Pair this setup with lightweight, unlined sheer linen or voile drapery. Sheer fabrics diffuse harsh direct sunbeams into a soft, room-filling luminous glow without blocking precious photons.

4. Flooring and Rug Reflectance Optimization
Floors occupy roughly one-third of a room’s total visible surface area. Dark walnut flooring, deep mahogany stains, or dark charcoal carpeting absorb up to eighty percent of ambient photons, creating a heavy visual anchor that drags down room brightness.
If replacing dark flooring is not feasible, overlay the space with a large, light-toned area rug made from natural cream wool, bleached jute, or light oat fibers. A pale floor surface acts like a giant reflector board, catching incoming window light and bouncing diffuse illumination upward onto ceilings and walls.
To complement this brightness across your broader layout, pair these strategies with our spatial principles for small-space living room layouts for flow and comfort, and establish biophilic balance by introducing low-light houseplants that thrive in north-facing rooms.
5. Natural Light Enhancement Strategy Matrix
Compare the cost, impact, and effort of these daylight optimization strategies:
| Design Strategy | Estimated Cost | Relative Light Gain | Installation Effort | Key Structural Benefit |
|---|---|---|---|---|
| High-LRV Paint (75-82) | Low ($60 – $120) | Very High (+35%) | Weekend DIY project | Prevents shadowed dingy gray wall cast |
| Perpendicular Mirrors | Moderate ($80 – $250) | High (+25%) | Simple wall mounting | Bounces light onto interior dark partition walls |
| “High and Wide” Sheer Drapes | Moderate ($70 – $180) | High (+20%) | Simple hardware installation | Uncovers 100% of window glass area |
| Light Wool Area Rug | Moderate ($150 – $400) | Moderate (+15%) | Immediate placement | Bounces floor photons upward to ceiling |
| Interior Glass Transoms / French Doors | High ($400 – $1200) | Exceptional (+45%) | Carpentry / contractor required | Shares daylight between adjacent rooms |
6. Furniture Profile and Sightline Clearance
Heavy, monolithic furniture placed near window zones acts as a light dam, casting long, dark shadows into the rest of the room. Keep bulky credenzas, tall dressers, and high-backed bookcases at least six feet away from window openings.
Near windows, select low-profile furniture featuring slender silhouettes: leggy tables, glass or acrylic coffee surfaces, and low-slung armchairs. Transparent materials allow incoming daylight to travel uninterrupted through the space, illuminating floor surfaces and walls behind them. For dedicated morning focus, integrate these principles when building your morning coffee and mindfulness nook.
7. Layered Artificial Daylight Supplementation
In deep winter or windowless alcoves, natural daylight may still need supplemental support. Avoid turning on a harsh central ceiling fixture. Instead, integrate lighting aligned with the Illuminating Engineering Society (IES) residential daylighting standards, choosing high Color Rendering Index (CRI 90+) LEDs with a balanced 3000K to 3500K color temperature that closely simulates midday natural sunlight.
Position uplights on top of high shelving or place concealed LED cove lighting along ceiling edges to wash walls with upward light. By illuminating ceiling surfaces, you mimic the natural physics of daylight diffusion, banishing gloomy shadows and infusing your living spaces with uplifting warmth and vitality throughout every season.
Implementing even two or three of these targeted optical adjustments permanently alters how light behaves in your home, turning formerly neglected, dim corners into bright, inviting spaces that support calm concentration and everyday wellbeing.